Showing posts with label hardwood. Show all posts

Tuesday, February 18, 2020

New Bathroom

While the house is off the market we're adding another bathroom upstairs so that its not just the Jack & Jill one. That was a real turn off for everyone.

So we're redoing the old one at the same time. It measures 12.5X5 feet, we're not changing the bathtub or toilet but the old vanity HAD to go. As did the old towel rails and mirror. 


I picket up a pretty light blue paint, Schoolboy Blue, for the bathroom walls


Below, the top pipe is for the toilet & the lower one is the shower' We T'd in to add the drain for the new shower & will do so for the toilet also.


The sink will be added next.

This is the view from the door into the new bathroom. It used to go into our bedroom.

This is from across the old bedroom; the old door opening in the middle is going to be closed off and the vanity will cover most of that area with the toilet by the garbage can & the shower on the left.


This is where the new door to the bedroom will be, at the top of the stairs. We're going to make sliding barn doors like we have for the downstairs bathroom. Not only for this bedroom door, but also for the bathroom & other bedroom at the end of the hall. 


But before we could do the bathrooms, we had to get the other bedroom set up for us to use.

removed the carpet & put down the remaining Acacia hardwood flooring.


I painted the walls a very light gray (sorry, don't recall the name)


and painted the window wall & trim Blizzard Fog.


We put all new trim around the floor. The door on the left, to the hallway, will eventually be replaced by a barn door, I'd like the other one, into the bathroom, also to be a barn door.

While we were at Lowes I saw a new fan I like 

to replace this old, white monstrosity. This is a cool fan because its got a remote but its so ugly.


I can't wait to see the new one in action and it too has a remote.


Saturday, June 1, 2019

Kitchen Reno FINISHED

This is the brand new renovated kitchen. 
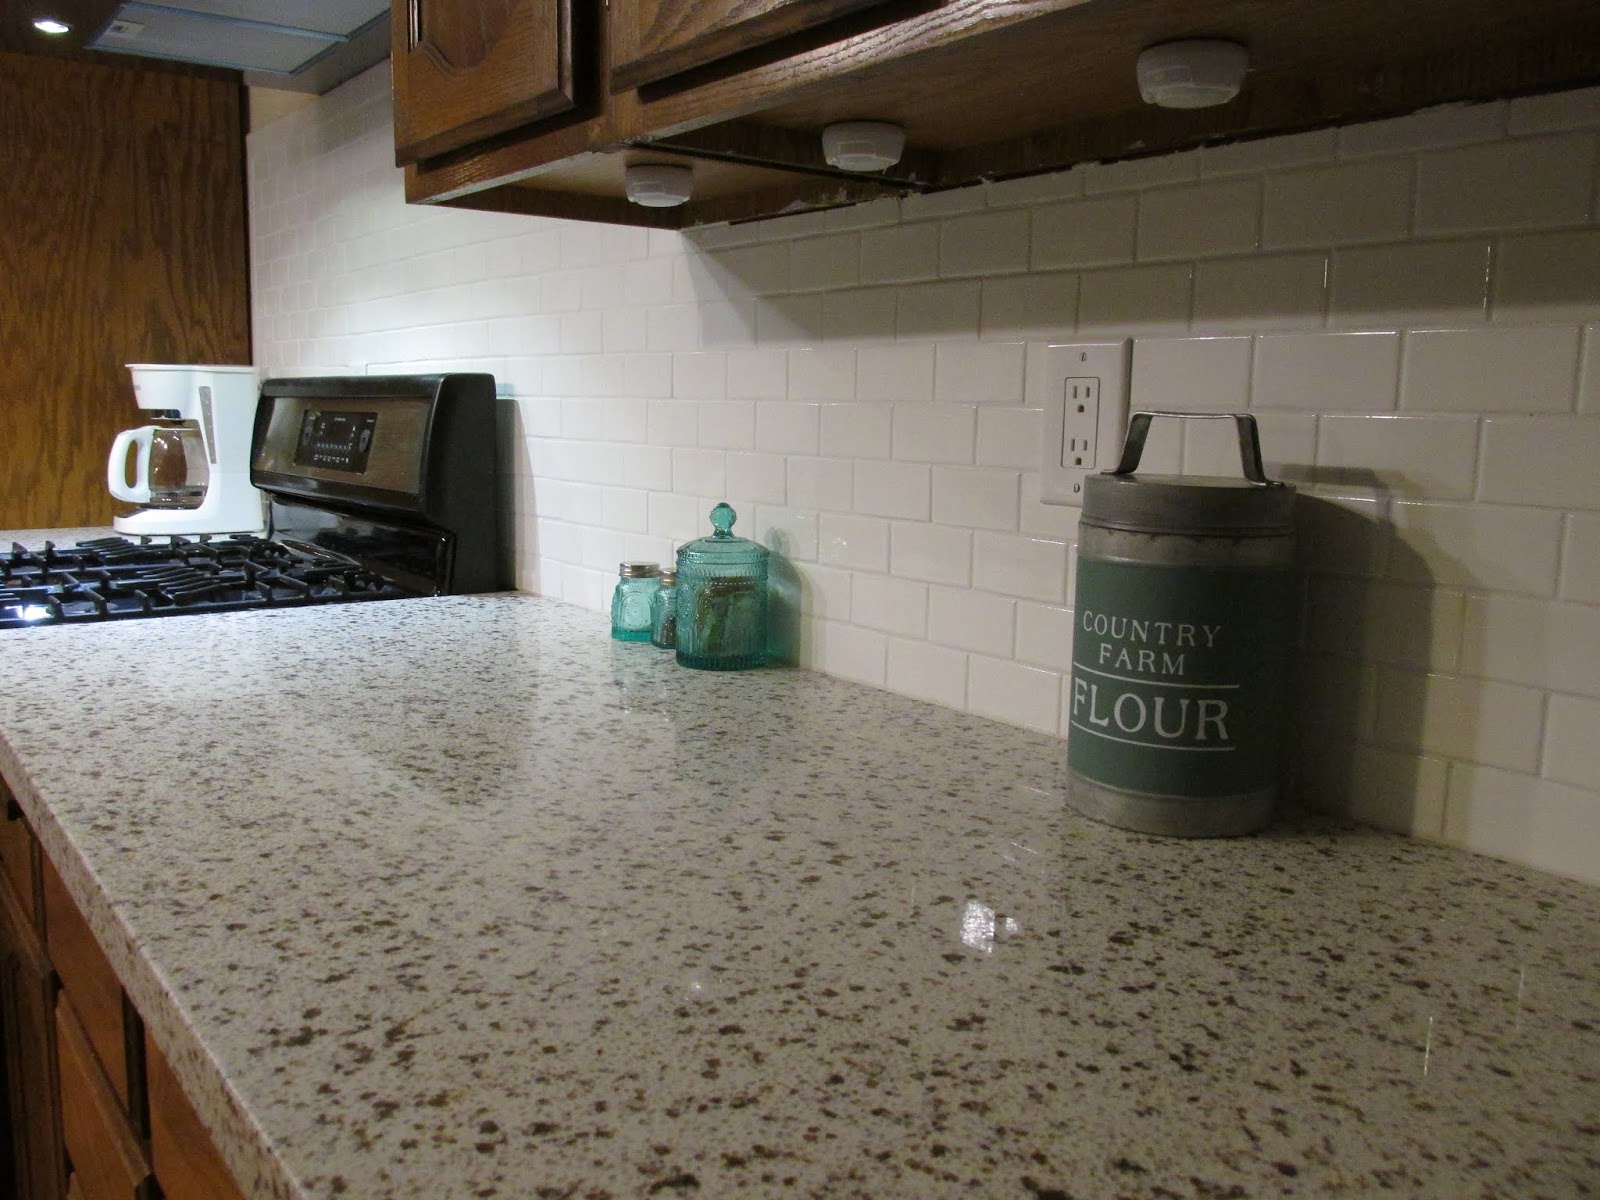
New quarts countertops, sink, faucet, Bosch dishwasher, propane stove, 
hood/fan & subway tile back splash.
The floor is new and the island has old fence boards around it now.


This is what it looked like the first time we ever saw it. 
The ovens were original & barely worked. The microwave on the wall was just weird to me. 
The fridge was old and the inside shelves didn't stay up.
The cooktop in the middle of the island was a pain in the butt and the granite, even though pretty, had the hideous dark gray grout that looked like mildew.


This is the view as of 2 years ago. I had painted the red, we removed the ovens & were getting ready to install propane in the kitchen.


Now it looks like this. We left a little of the red, just enough. 


When its all said & done, I think we spend about $11,000 total to renovate the kitchen.


I love it.


Thursday, November 1, 2018

New Fences

When horses go wandering, new fences are in order.


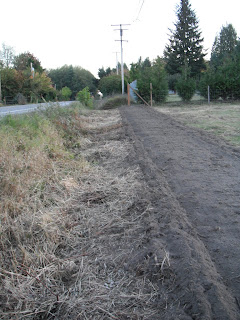
This is part of what we're replacing, its along the front of our property, bordering the road.
The posts are a mix of old & older, most rotten and only standing up because of all the bushes and weeds in the ditch. The boards are all rotten also.


It was all taken down, along with the barbed wire & field fencing. 
Then the bushes and weeds were mowed down.

To make it a little nicer looking, the front 20 feet were rototilled and evened out, 


grass hay was spread over it and the tractor tires flattened it out. 

The fence line was moved back about 10 feet so that there will be a nice area for grass and ornamental trees to be planted.
New 6x8 posts were cemented in every 16 feet and 4x4s were put in between them.


This is what it looks like today.


Up close, notice how it was done: 
All the boards are 1"x6"x16', 
the top boards were started on post one, goes over post 2 and ends at 3. 
The second board down begins on post 2, goes over 3 and ends at 4. 
The 5thrid and fourth boards do this also. Supposedly this makes the boards stronger.
Field fencing will be put up also to keep dogs in and provide additional strength, and electric braid will be put at the top to discourage horses from leaning over it and knocking it down.


Today all the old fencing was carried to the back pasture and thrown onto the burn pile.


There is an easement at the other end of this fence from the driveway that was left open, we will put a gate in it so that the easement never disappears.


Monday, March 19, 2018

Third Bedroom Updates

The upstairs 3rd bedroom is FINISHED. 


The floor was completed last night, then the closet began. 


Today the closet was FINISHED. 


He made the door a little too big, I think 2 of the boards need to be removed. As it is, the door only opens half way. But its beautiful.


Sunday, March 18, 2018

New Walls


This is the view looking in our front door, from the left the closed door is a bathroom, then the office in back, the white bricks is the huge fireplace and the dark living room.

We had our contractor come over and build a wall with a pocket door.
There were several reasons:
1. Keeping the cats and dogs out of ONE area of the house
2. Having a place to lock them IN
3. We can close it for a quiet place to work
4. With the fire going it will be warm
5. It adds 1 more room to the house rooms count on the appraisal

I haven't primed or painted the wall yet, I will do that in the off white which matches most of the rest of the house. The door and trim (trim coming later today) will be same color in high gloss. Then I will put in the rest of the switch plates and redecorate.


The house is FULL of stuff from this area and the upstairs spare room, which we are redoing also.

A lot of stuff (JUNK) was crammed into this room and it had an ugly orange berber carpet. The walls were stark white with lots of marks on them so out went all the stuff and the carpet too. I've already disposed of quite a bit of the junk and will be making a donations run to St. Vincents.


We've been here 3 years; before we were here the roof leaked down this slant and onto the floor at the left, below the window. I'll be painting that and with Kilz and have already painted the rest of the room in off white.
Then we're installing new hardwood flooring and finally a new closet will be built here.


Here is a photo I doctored up to look similar to the future closet wall. Bead board with a barn style sliding door. The wall won't be drywalled, just framed with the wood over it. There will be a hanger bar to the right side of the door and shelves to the right.


Once this closet wall is finished the value of the house will be thousands of $$$$ higher since it creates a BEDROOM and not just another room. 

Sunday, January 21, 2018

Outside Stall Doors

Each of the exterior doors will be made for the space it will go into because they all measure out a bit different from each other. Start with the inside frame, using the Kreg Jig to attach at corners & making sure its square. Or as square as can be.

Then add the inside plywood and the outside T1-11.
The X on the outside is more for support and to prevent future hanging/dragging than decoration but its very pretty.


We used 1x4's from the pallet the Comfort Stall mats & roofing came on, great way to upcycle.


Liquid Nails & real nails hold it together.


The hardware for the doors, large heavy duty hinges, locks for each door & hooks to attach them to the outside when open so they don't swing freely.


This tool gets the screws in fast & tight.


The finished product.
Now just 8 more to do because there will be top doors also.


The inside lock. 
We put a 2x4 inside the door jamb so the door wouldn't stress the hinges.