Showing posts with label tack room. Show all posts

Friday, November 2, 2018

And There It Is

The front fence is in,  


except for the electric. I could put horses out there tomorrow if I so desired but I'm going to wait for the electric fencing to go in. I really want to see Mack get hit with that.

And the field fencing isn't up yet either but we're not putting the dogs in here yet either.

Its about 5 feet tall, just enough that the horses probably won't jump over it.

Monday, September 3, 2018

August Was Busy

The horse runs are almost ready to use. One has buckshot, the rest have just builders sand.


This is the second run, behind the second stall. I think this is Wifi's stall & run. I still need to fill the post holes with gravel or move sand before I put any horses in them.


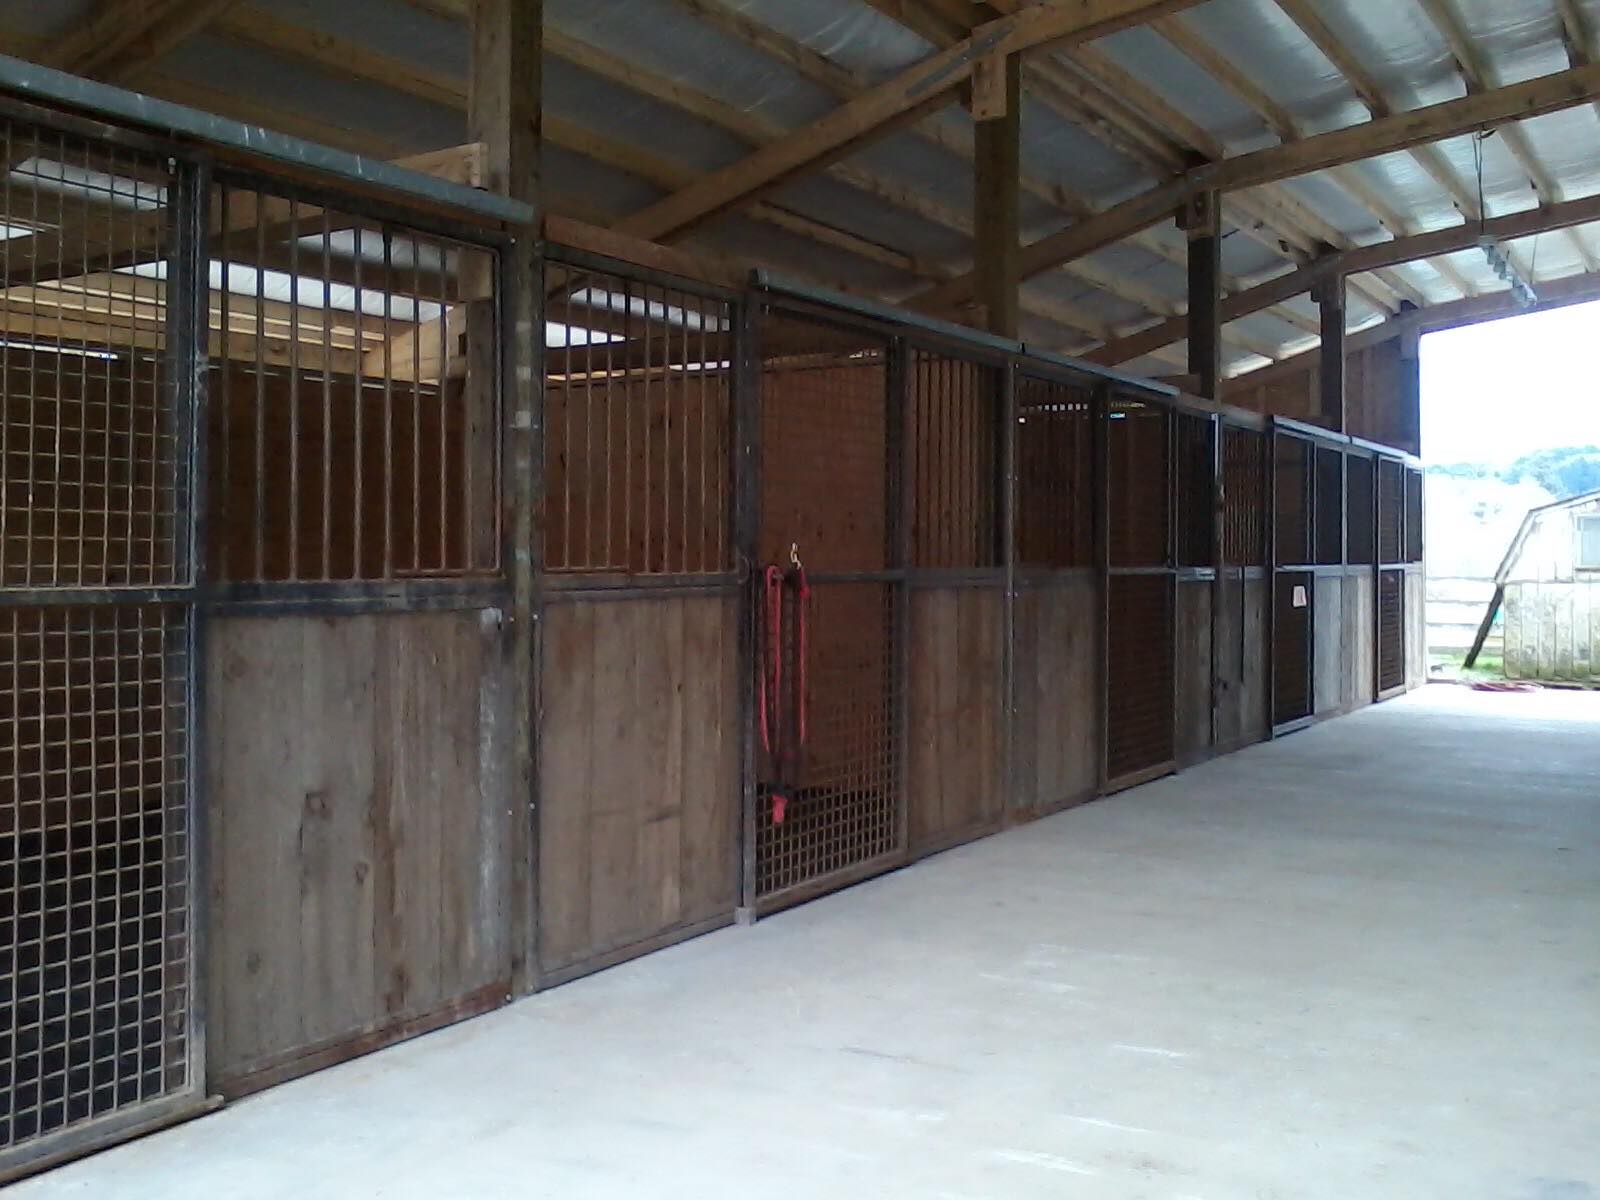
That's the first stall, probably Gus's run. Currently there are Quail in that stall and he has use of the entire arena every night.


Took a trip over to Eastern Washington for 5 tons of grass alfalfa hay. I've never had a goofier looking load before.


It all made it home & we didn't lose any. 
Coming down Chinook & Cayuse Pass's, our truck brakes were smoking.


The back of the barn from the back pasture.


The front of the farm from beside the front pasture.


The barn in the evening sun.


We got the chicken coop moved. It was in this location when we moved in, it was covered in sticker bushes and the doors & windows were falling off. 


The chickens had a touch time figuring out where to go to bed but with a little (lot) of encouragement from us, they got ended up inside.

We are going to put the big run on the right side and a small one of the left. That way we can have separate areas for new chicks or special hens.  


Friday, June 29, 2018

Getting It Done

These photos are of the wash rack
This is a built in shelf for the shampoos and sprays
The piece of plywood to cover this is attached to the wall beside it so if we need to use the wash rack as a stall we can close the holes.

I put took hooks on the back wall, also removable. 
See the plywood square from the shelf?


The cross ties are heavy duty bolts with solid wood behind the plywood


Here is the water heater and the pipes. This has been enclosed and the extra wood 
attached to wall also.


In the animal department, we hatched 6 pheasant chicks, they are 3 weeks old now.
I need to get an outdoor cage for them so they can be used to being outside.
That's a chicken chick with them, shes got a messed up leg & we have no idea why.

We moved the tack room to the back of the arena

In this photo it hasn't been set on the bricks all the way but now it is, we have painted 3 of the 4 sides and purchased 2x8 pressure treated boards for the trim along the ground. The front hasn't been painted yet, we need to remove the saddle rack and cover the door & light.


Some of my barn art has been put inside the barn. I am going to rehang the flag and put up a couple others, one is a flag I purchased in May 2000 at Keeneland.


Inside my tack room. I've been given another saddle so I've got 3 western, 1 dressage & 1 English. 
I purchased a harness for the Mini's in hopes to ground drive Gus; 
the surcingle I purchased is WAY too small for any horse. 


Sunday, April 15, 2018

Air B & B


We have placed our spare room on Air B & B

Asking $41 per night

Horses $10 extra per horse


I need to do some more decorating but this is the beginning


And I hope we get a guest or two


As you can see, there are no curtains, the lamp sucks, barely any art work. The closet is on the right and I have stuff inside it but if we were to get a guest I'd have to remove all of it & shove it in the other spare room.
This might be fun.

Wednesday, March 14, 2018

Big Front Door Finished

The front of the barn is almost entirely finished. Since these photos were taken two days ago, The trim on the roof has been attached, the 2nd overhead door rail has been put up and a handle is on the barn door.

This rail is quiet

We put 3 sets of rollers on the door to support the heavy door


The rail is round with HD plastic wheels, they don't make nearly as much noise as metal wheels


He glued, then bolted the supports and wheels on


Inside of just the door


Inside door and the wall above it


Wednesday, February 28, 2018

Barn Front & Loft

He's putting siding on the top front of the barn today.


And the loft is almost finished. Its only going over the aisle of the 3 middle stalls and a couple feet into those stalls. I'll be able to stand up there in about half of it but not near the stalls. 


So glad we're got the tractor for heavy lifting, makes it safer.


From above the front door, this is what it looks like so far.


From inside the wash rack. I had him cut it back so if the horses get stupid and go up they won't bash their heads.
This is the inside of the wash rack, looking up and out through the door.


This is through the same door but up into the stall the opposite direction.


Tuesday, February 27, 2018

Stable Comfort 10 Day Review


We started using the stalls with the Stable Comfort stall mats about 10 days ago and I want to do a short review.

What I've noticed the most and is super important to me is that Joey hasn't been stocked up in the mornings after being locked in the stall all night. We don't have outside runs ready yet so its just the stalls. I do not know if he's sleeping a lot or just standing around but I do know he's not making laps in it. So not stocking up is a SUPER DUPER PLUS. He has laid down a few times, I can tell by the shavings in his tail.
Wifi is the same as always in her stall.

What I do not like is that the pee goes wherever it wants and in both stalls that's right to where their hay bags hang. No one likes to eat hay that's been sitting in their pee. I'm thinking I might need to hang the hay nets on a different wall or have several spots so at least the floor can dry before using those spots again. I even switched the horses to each others stalls last night to see if it would make any difference but it didn't.


The only thing we did not do when installing was crown the concrete in the middle but it was poured before I ordered the mats. On flat floors with regular mats if Joey pees in the middle it stays in the middle.

Friday, February 16, 2018

Stable Comfort Stall Mats


The Stable Comfort stall mats are in and look great.
All the sides have been trimmed and doorways attached.

Boots has approved them for use.

Valentines Day brought a nice clean aisle, all the tools and wood put away or at least stacked neatly. The stalls look great.

Tonight I'll hang bucket holders and put up the stall divider wall and it will be ready for use.


The outside runs are not finished yet, there are not fences yet. 
we're expecting COLD temps this coming week with possible snow so I've got hay nets filled, the trough heater is ready to go and IF we decide to put horses in these stalls I have Wifi's heated water bucket for her.

This is the wash rack/grooming stall. Its going to have a ceiling & the plan is to paint the while thing white. I want lights in the back, high and low so if we need to see we will be able to.
The loft will be above these 3 stalls, in the middle of the barn over the aisle way. Should hold plenty of hay but still allow enough light to get in.

Along the back you can currently see its open at the eaves but we're going to close those, have to keep the birds out.

Tuesday, February 13, 2018

Stable Comfort Almost Done

The StableComfort stall mats are almost completely installed. 
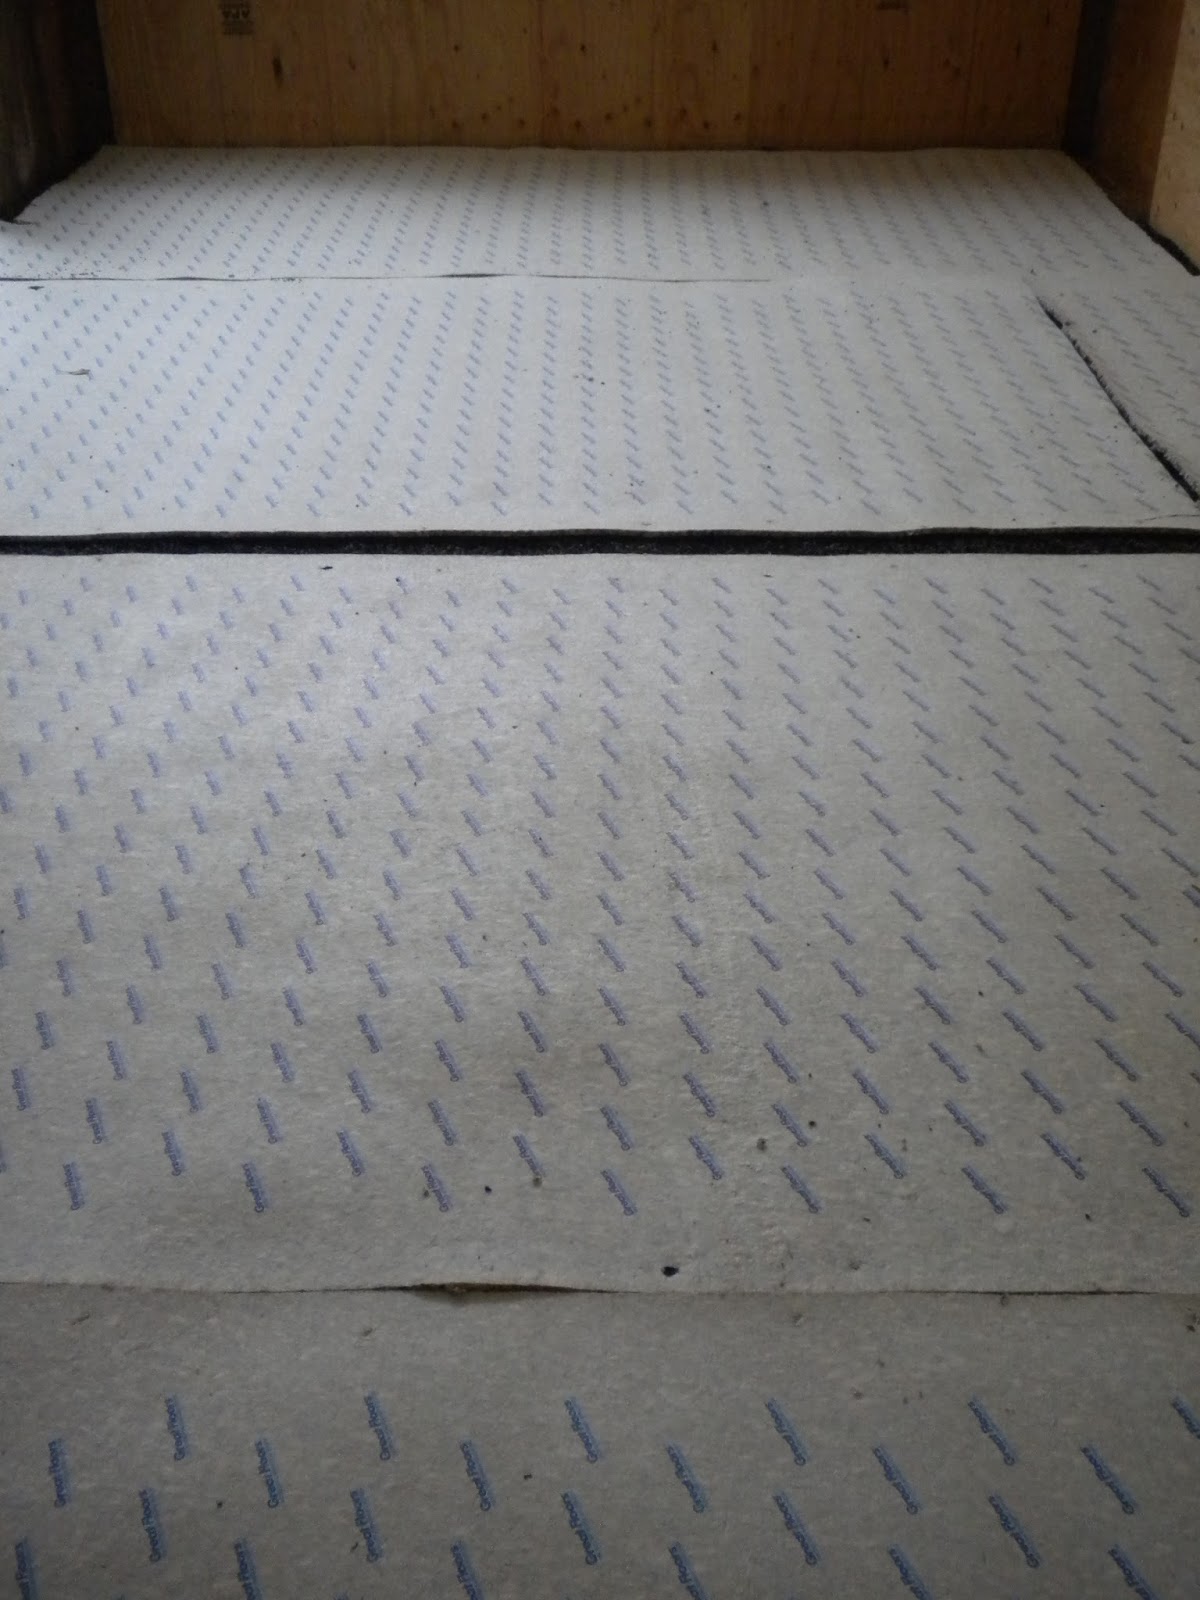
We went to Habitat For Humanity and purchased just enough carpet padding to cover the entire floor.


Then we had to have 2 more people come over and help get the mat rolled out in the aisleway and rerolled in the length wise direction, so we were carrying a 27 foot long HEAVY limp noodle
instead of a 13 footer.


Hemmed & hawed, pushed & pulled, finally got it about right.


Then the sides started getting the black strips screwed in, this wall first. 


This is what the top mat looks like, almost a felt-carpet on the bottom/underneath.


And heavy duty rubber on the top.


Its about 1/4 inch thick all together.


Here is beside one of the outside doors. See the angle? it was too much, he had to take some of them back off and loosen them to less of an angle.


This is the divider post, the second wall area he did
and we had to figure out how to go around the post. 


I was a bit freaked out about him cutting it but he just went ahead and it all turned out OK. 
This wasn't easy and took about an hour to get it just so. 


This is the almost finished post.
This is below two feed windows which will be open a lot with them standing there with their heads out, stamping their feet for food and attention.


Now that wall is all finished with the top row of screws but had to be redone at the lesser angle.


There is one of the end walls done, as soon as he got the second row of screws in the floor got smooth and most of the wrinkles are gone.


Doorway outside. He had installed the pressure treated board just for this purpose and it looks like its going to work OK for a while.


There is one more doorway to finish, then trim all the excess off from above the black strips and then black caulking along the tops to seal them from having pee go down behind them.
Then I can FINALLY use the stalls.